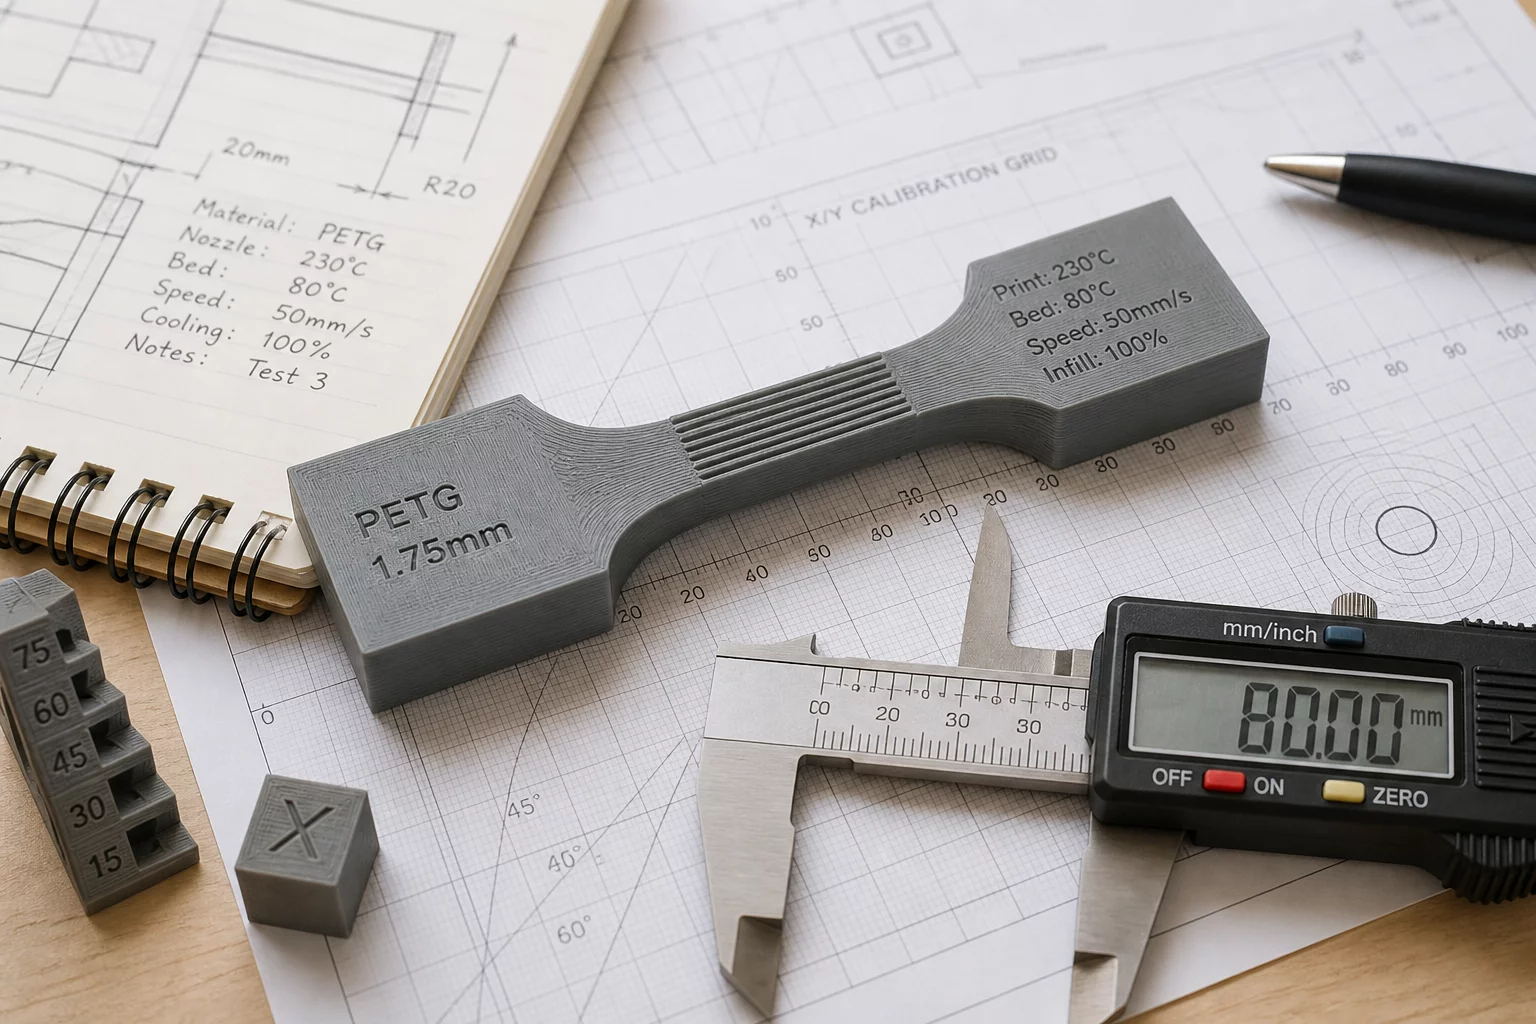
Systematic Trial Methodology for Rapid 3D Prototyping
Eliminate guesswork by isolating single variables, establishing empirical pass/fail thresholds, and evaluating sub-assemblies before initiating full prints.
The Three-Step Validation Cycle
Every trial print must isolate a single mechanical or geometrical parameter to produce unambiguous calibration data.
Formulate One Question
Isolate a single geometrical, clearance, or thermal variable. Avoid combined parameter adjustments so failure points remain clearly attributable.
Define Observable Thresholds
Determine pass and fail criteria before slicing. Establish physical measurements such as caliper tolerances, torque limits, or snap-fit engagement.
Execute and Decide
Print only the isolated sub-section. Inspect the part against your defined baseline and document whether to lock parameters or iterate.
Interactive Trial Matrix Planner
Select a functional prototyping objective to preview the targeted calibration setup and decision rule.
Does a 0.20 mm radial clearance allow smooth sliding without radial wobble?
Part slides under gravity with zero lateral play greater than 0.05 mm.
If binding occurs, expand clearance by 0.05 mm; if loose, reduce by 0.05 mm.
Practical Workflow Comparison
Contrasting unfocused complete prints with structured trial section validation.
Unstructured Full Model Printing
- Prints full assembly taking 8 to 14 hours for minor fit verifications.
- Multiple slicer settings adjusted simultaneously, obscuring root causes.
- Ambiguous qualitative inspection without documented numerical benchmarks.
PartTrial Isolated Specimen Method
- Cuts model down to critical joint geometry, finishing test prints in under 35 minutes.
- Locks all baseline parameters and tests exactly one variable at a time.
- Logs structured go/no-go criteria directly in physical or digital workbooks.
Ready to Log Your Next Test Print?
Apply this methodology using our dedicated engineering worksheets and practical guides.