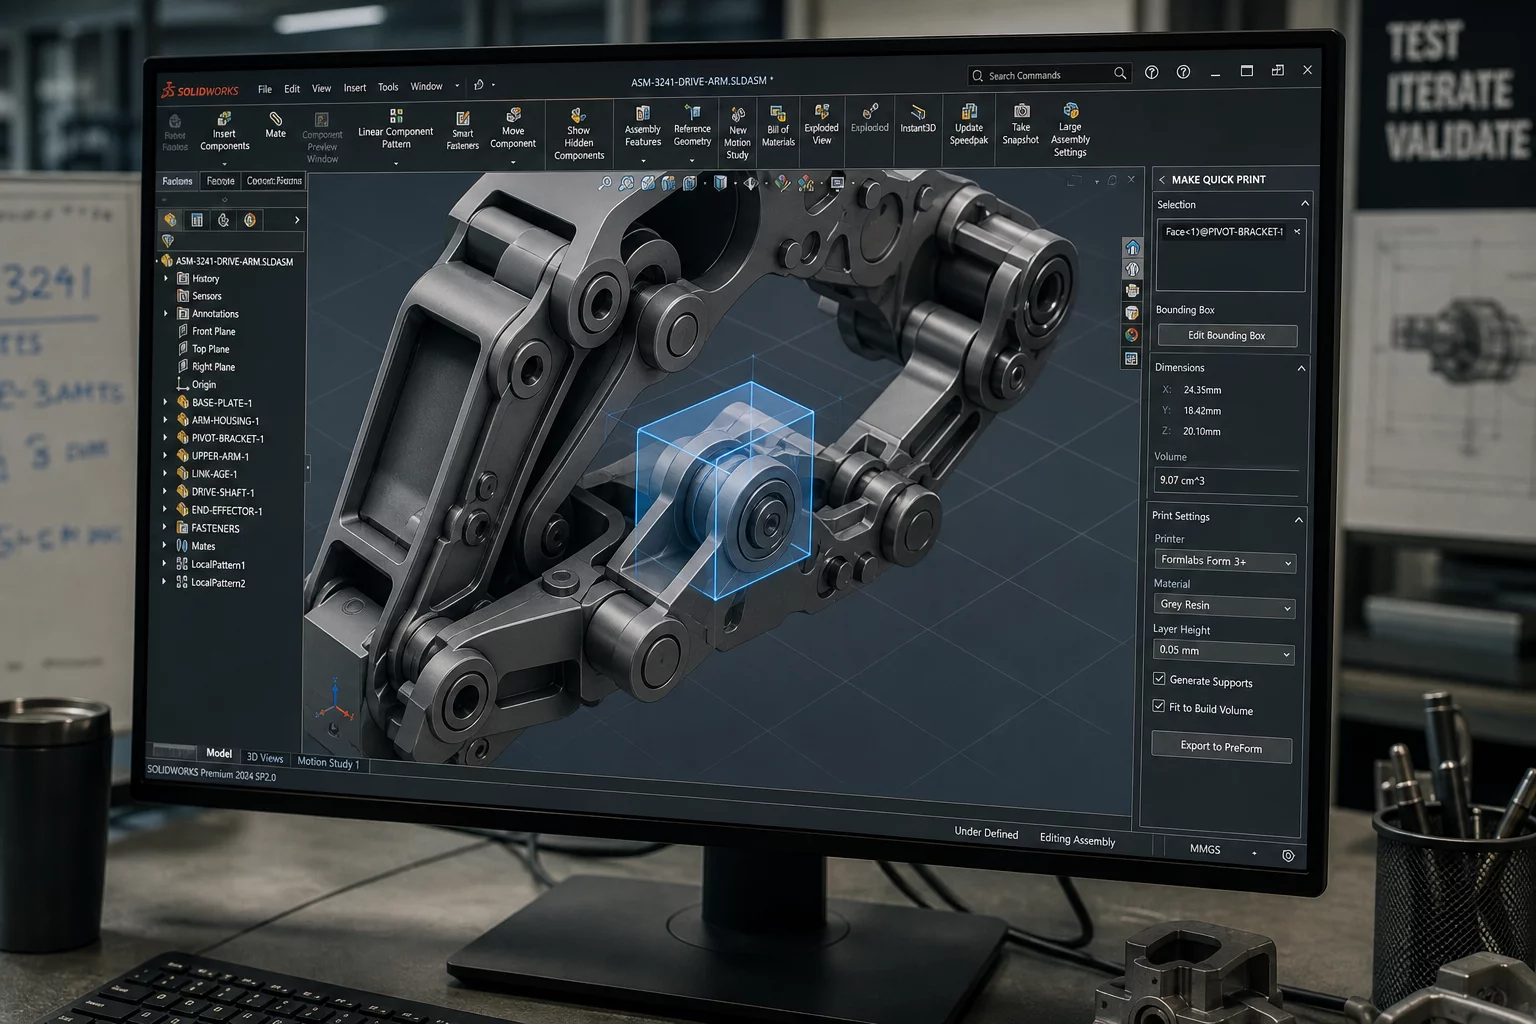
Summary & Trial Objective
Printing entire enclosures or full assemblies to verify a single snap joint, thread fit, or hinge clearance introduces massive time waste and clouds failure diagnostics. By isolating the exact geometry under test into a compact coupon, teams cut print turnaround from ten hours to thirty minutes and isolate cause and effect with zero ambiguity.
1. Problem Definition and Hypothesis
Engineering teams often rush to slice an entire 400-gram chassis just to check whether an internal M3 heat-set insert pocket maintains adequate wall thickness under load. When that 14-hour print warps slightly off the bed or fails at hour twelve, diagnostic focus scatters across bed adhesion, slicer cooling profiles, and ambient chamber drafts rather than the actual fastener engagement under evaluation.
The PartTrial protocol mandates isolating the exact feature in CAD using direct boolean cuts or section planes in PrusaSlicer 2.9.6. Extracting a 15mm coupon containing only the mating rib, boss, or snap tooth creates a rapid test specimen that finishes in under 30 minutes. This practice guarantees that every gram of extruded polymer directly answers your primary design hypothesis.
| Trial Variable | Baseline Parameter | Adjusted Variant | Expected Observable |
|---|---|---|---|
| Section Plane Cut Height | Full Assembly (142 mm) |
Isolated Joint Coupon (18 mm) |
Print time drops from 8h 45m to 24m; direct snap engagement testable immediately. |
| Perimeter Extrusion Width | 0.45 mm (Standard) |
0.60 mm (Reinforced Wall) |
Shear resistance on the cantilever latch tooth increases without modifying core part dimensions. |
2. Step-by-Step Observation Protocol
Implement a systematic extraction workflow before hitting the print queue. Rather than adjusting multiple slicer parameters simultaneously, isolate the feature, run identical layer settings against your benchmark material, and log physical fit on the specimen ledger.
- Perform the CAD or Slicer Cut: Crop the model down to 5 mm surrounding the critical interface, ensuring sufficient base flat surface area for stable bed adhesion without auxiliary supports.
- Print with Production Slicer Parameters: Keep layer height, extrusion multiplier, orientation, and perimeter counts identical to intended final production settings to replicate exact anisotropic layer bonding.
- Conduct Physical Engagement & Dimension Logging: Mate the isolated coupon with its physical counterpart, measure clearance with calibrated calipers, and log deflection behavior before altering CAD dimensions.
Golden Principle
One print. One question. One observable result. Do not alter secondary parameters until the primary feature is validated against physical thresholds.
3. Evaluation Criteria and Thresholds
A feature trial succeeds only when verified against pre-determined quantitative thresholds. For snap fits, record insertion force and permanent deformation after ten cycles. For threaded bosses, check torque-to-strip limits using a calibrated driver. If the isolated coupon passes all physical criteria, integrate the verified geometry back into the master assembly model with total confidence.
Field Observations & Logs
The systematic worksheet approach completely eliminated guesswork on our snap-fit latch trial. Documenting one variable per run prevented us from wasting an entire spool on failed dimension calibrations.
Submit Field Log Entry