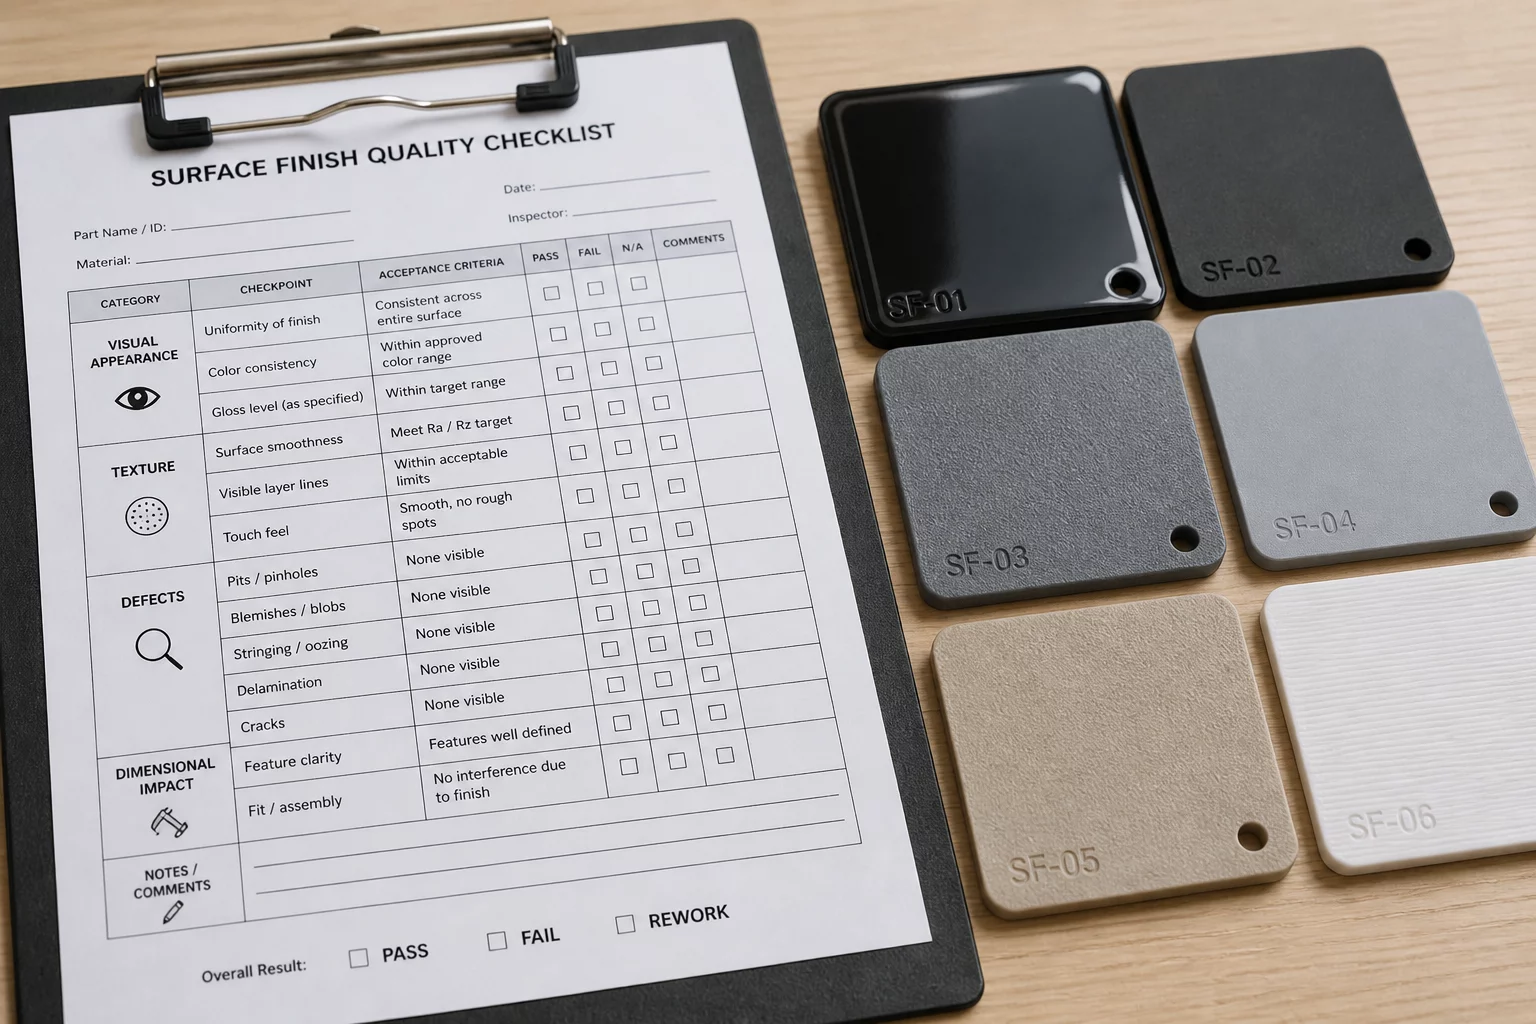
Summary & Trial Objective
The surface comparison sheet isolates aesthetic, tactile, and micro-geometric layer variations across print runs. It ensures engineers and makers test one slicer parameter at a time—such as ironing, perimeter speed, or temperature—to document concrete visual and tactile outcomes before moving to full component runs.
1. Problem Definition and Hypothesis
Achieving a clean cosmetic finish on an FDM component often leads teams into a trap of tweaking extrusion multipliers, speeds, fan curves, and temperatures simultaneously. When four settings change at once, knowing which parameter smoothed out ringing or caused micro-voids becomes impossible. The surface comparison sheet establishes a strict single-variable evaluation rule.
Before starting a test swatch, define one precise question about the exterior finish. For example: "Does reducing outer perimeter speed from 45 mm/s to 25 mm/s in PrusaSlicer 2.9.6 eliminate ghosting around emboss features?" Record the baseline value alongside the single variable under trial, and inspect only the designated target face.
| Trial Variable | Baseline Parameter | Adjusted Variant | Expected Observable |
|---|---|---|---|
| Outer Wall Speed (PrusaSlicer 2.9.6) | 45 mm/s |
25 mm/s |
Reduction of corner ghosting & improved gloss uniformity |
| Top Surface Ironing Flow | Disabled |
15% Flow @ 0.1mm Spacing |
Elimination of top-layer ridge lines; tactile smoothness |
2. Step-by-Step Observation Protocol
Follow this observation routine immediately after the print bed cools down to ambient temperature. Rapid tactile checks while the part remains warm can distort observations and cause false logging.
- Raking Light Visual Inspection: Position a single direct LED light source at a 15-degree grazing angle to exaggerate layer lines, seam placement, and surface ripples.
- Tactile Fingernail Traverse: Run a clean fingernail perpendicular across top solid infill and vertical perimeters to detect micro-stepping and flow inconsistencies.
- Direct Comparative Swatch Matching: Place the new trial coupon directly beside the baseline specimen under identical 5000K neutral laboratory lighting and record visible differences.
Golden Principle
One print. One question. One observable result. Do not alter secondary parameters until the primary feature is validated against physical thresholds.
3. Evaluation Criteria and Thresholds
Document findings on the physical sheet under Pass, Fail, or Inconclusive. A trial is complete only when the physical evidence answers the initial hypothesis. If the observable result meets the acceptance threshold, lock the slicer profile. Otherwise, formulate the next single-variable trial and print a fresh test coupon.
Field Observations & Logs
The systematic worksheet approach completely eliminated guesswork on our snap-fit latch trial. Documenting one variable per run prevented us from wasting an entire spool on failed dimension calibrations.
Submit Field Log Entry